


 by
by I built a home lab server so I can learn more about networking!
I decided I want to add some services to my home network. While I have an old desktop computer running Windows 10 and a laptop running Linux; I thought it would be good to have a dedicated computer. This will allow me to experiment with services, software, and a variety of operating systems without affecting the computers that I daily use.
My hardware requirements are:
- I want it to be low power – It is going to be running 24/7, so I want to keep my electricity bill as low as possible.
- Smaller the better – I want to put it on the same network shelf as my router and switches.
- It has to be cheap – Something that has good price to performance that won’t brake the bank.
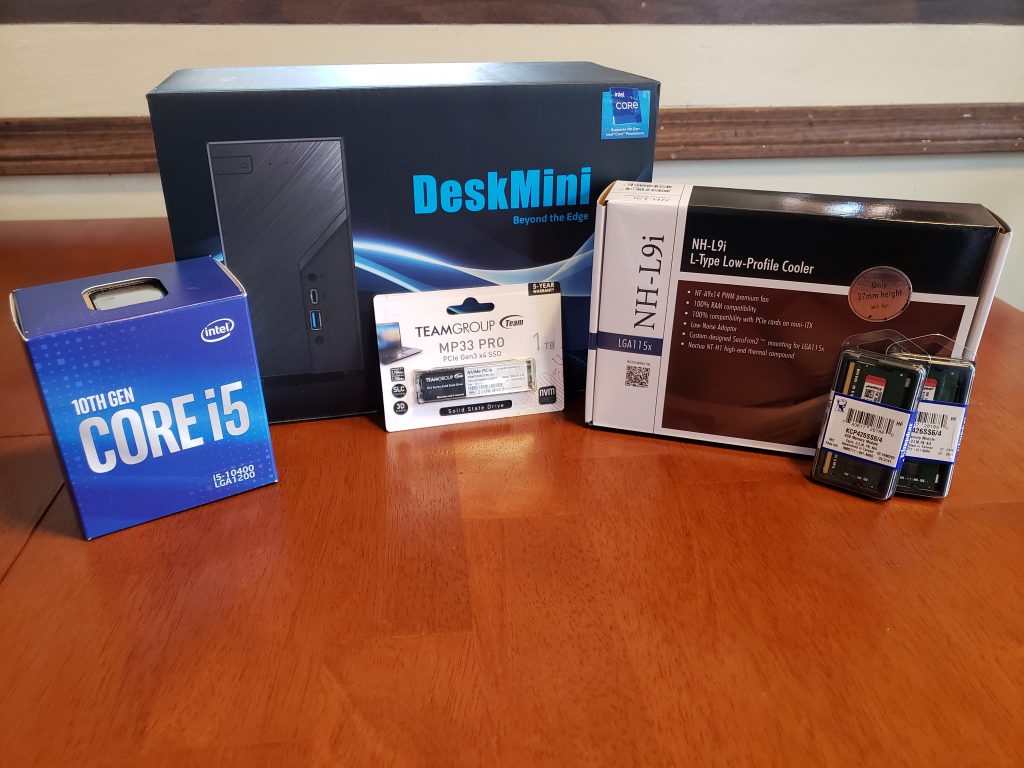
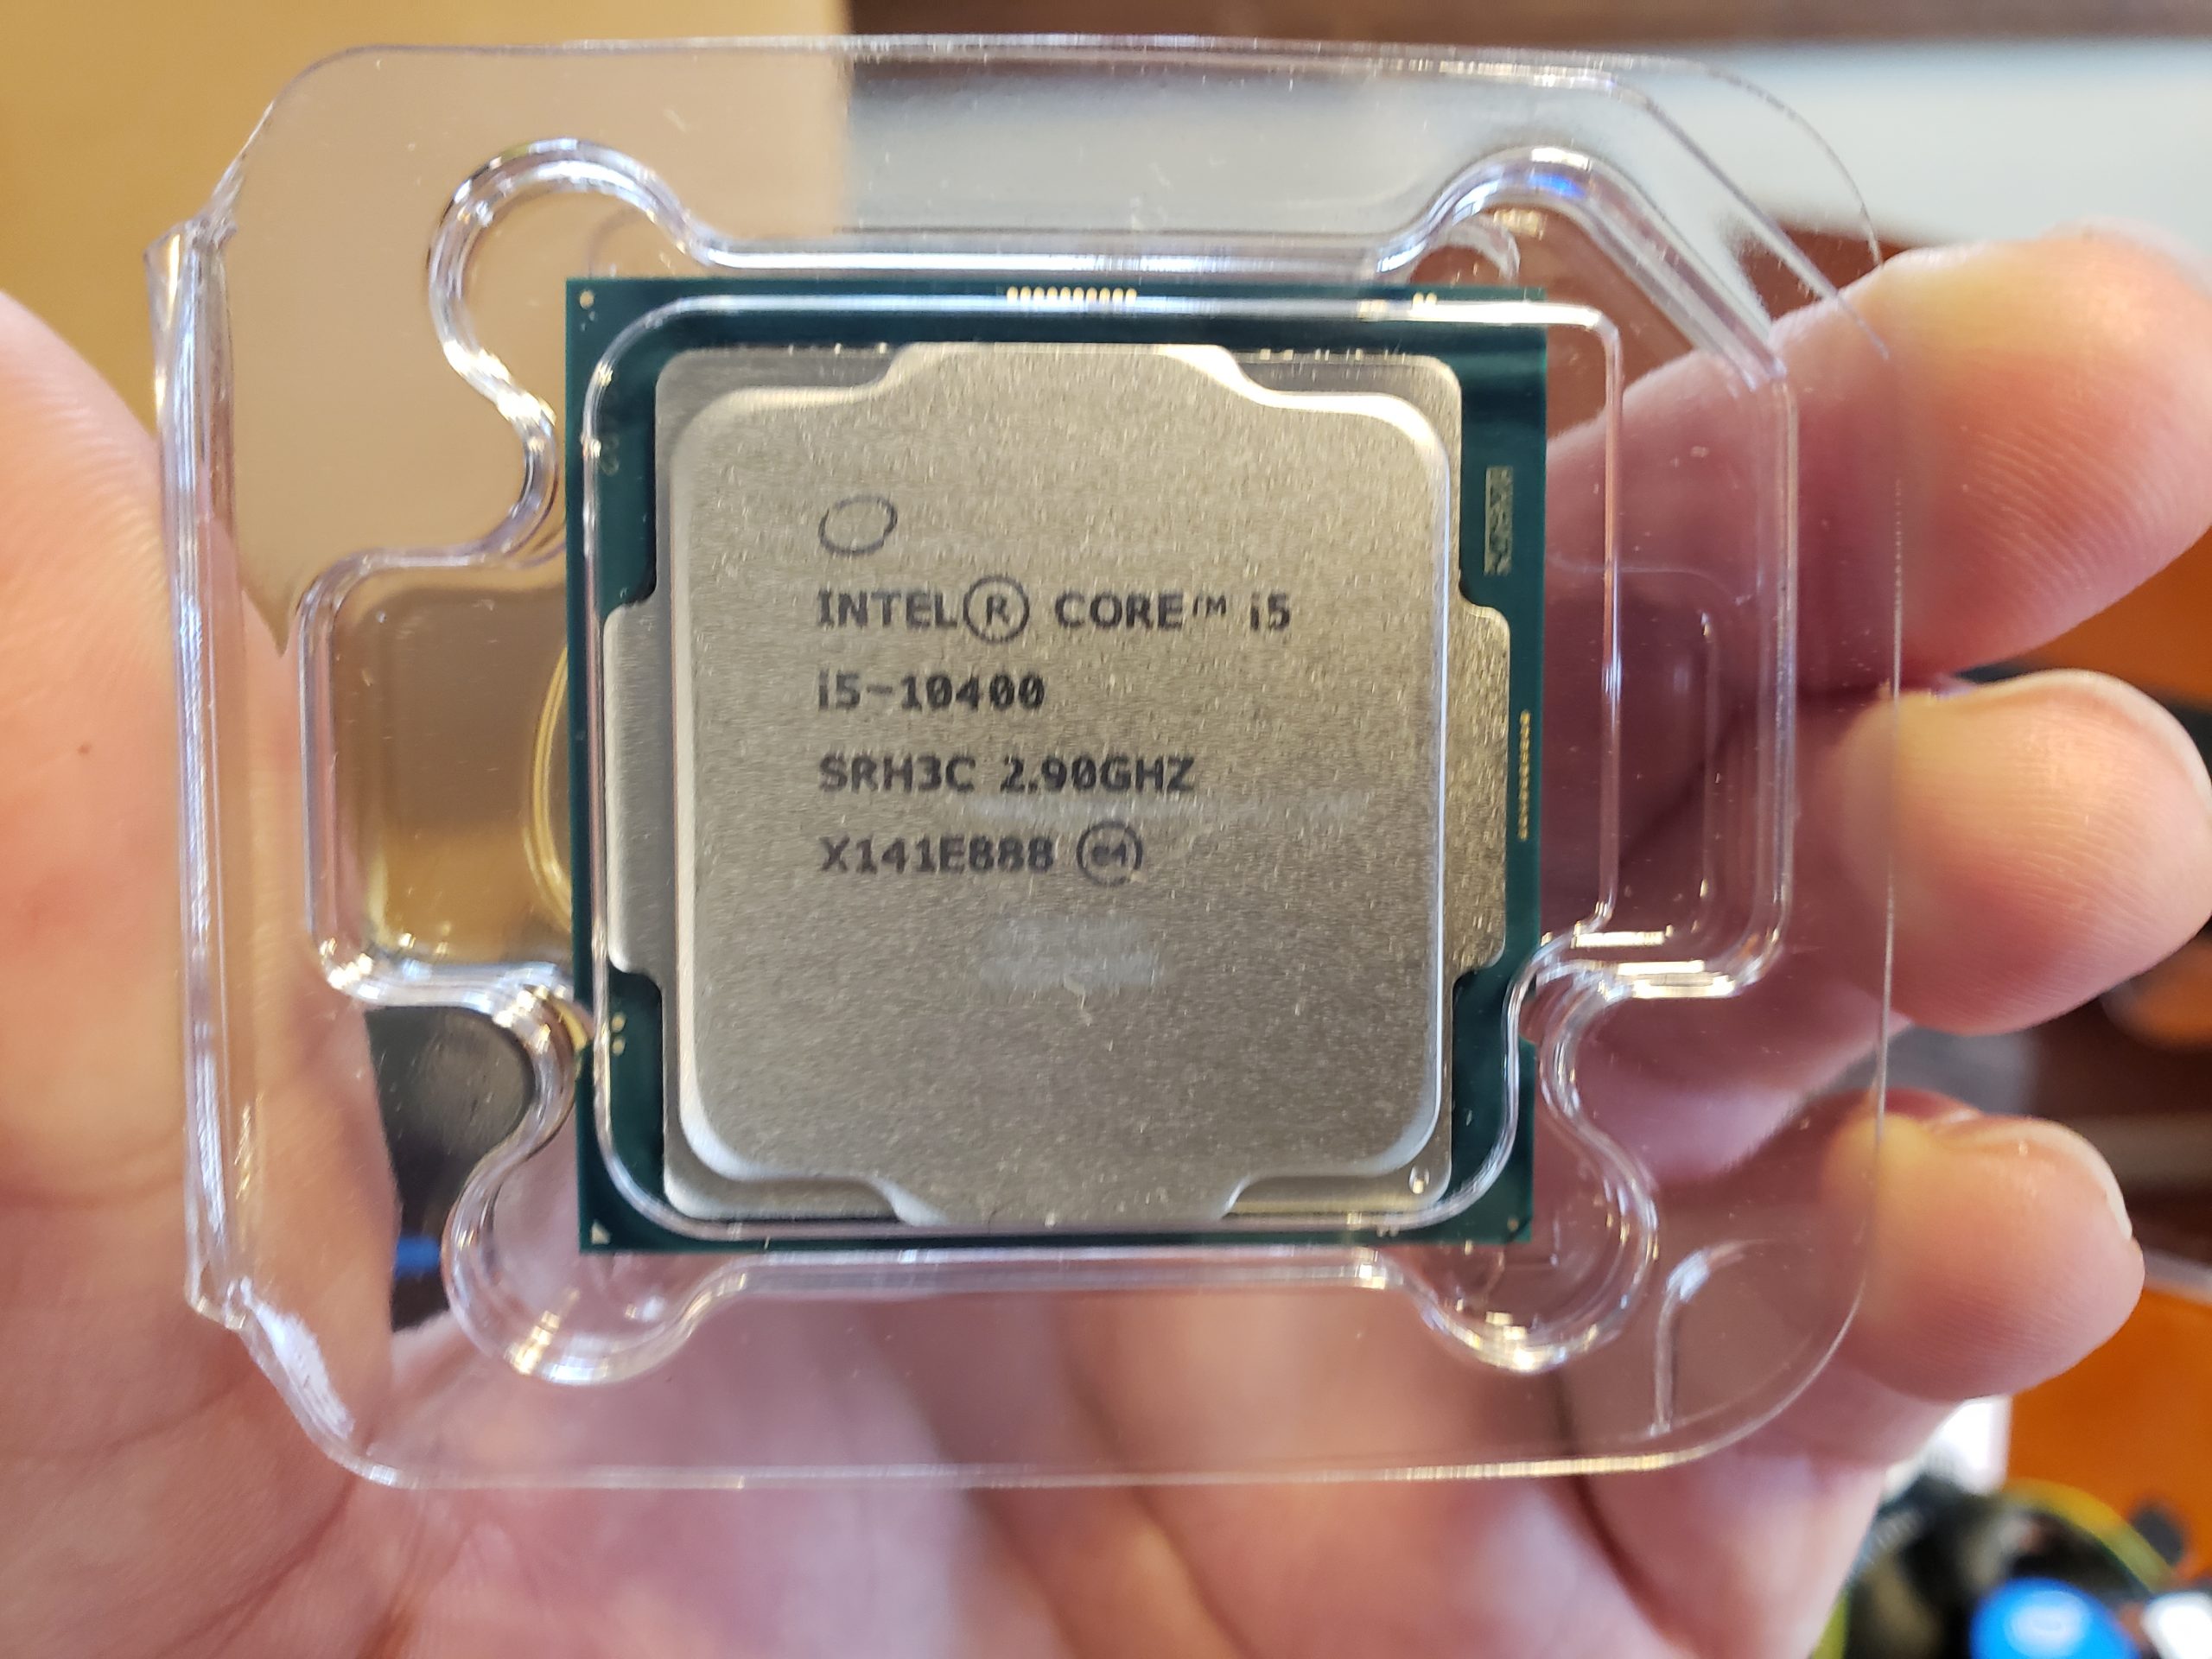
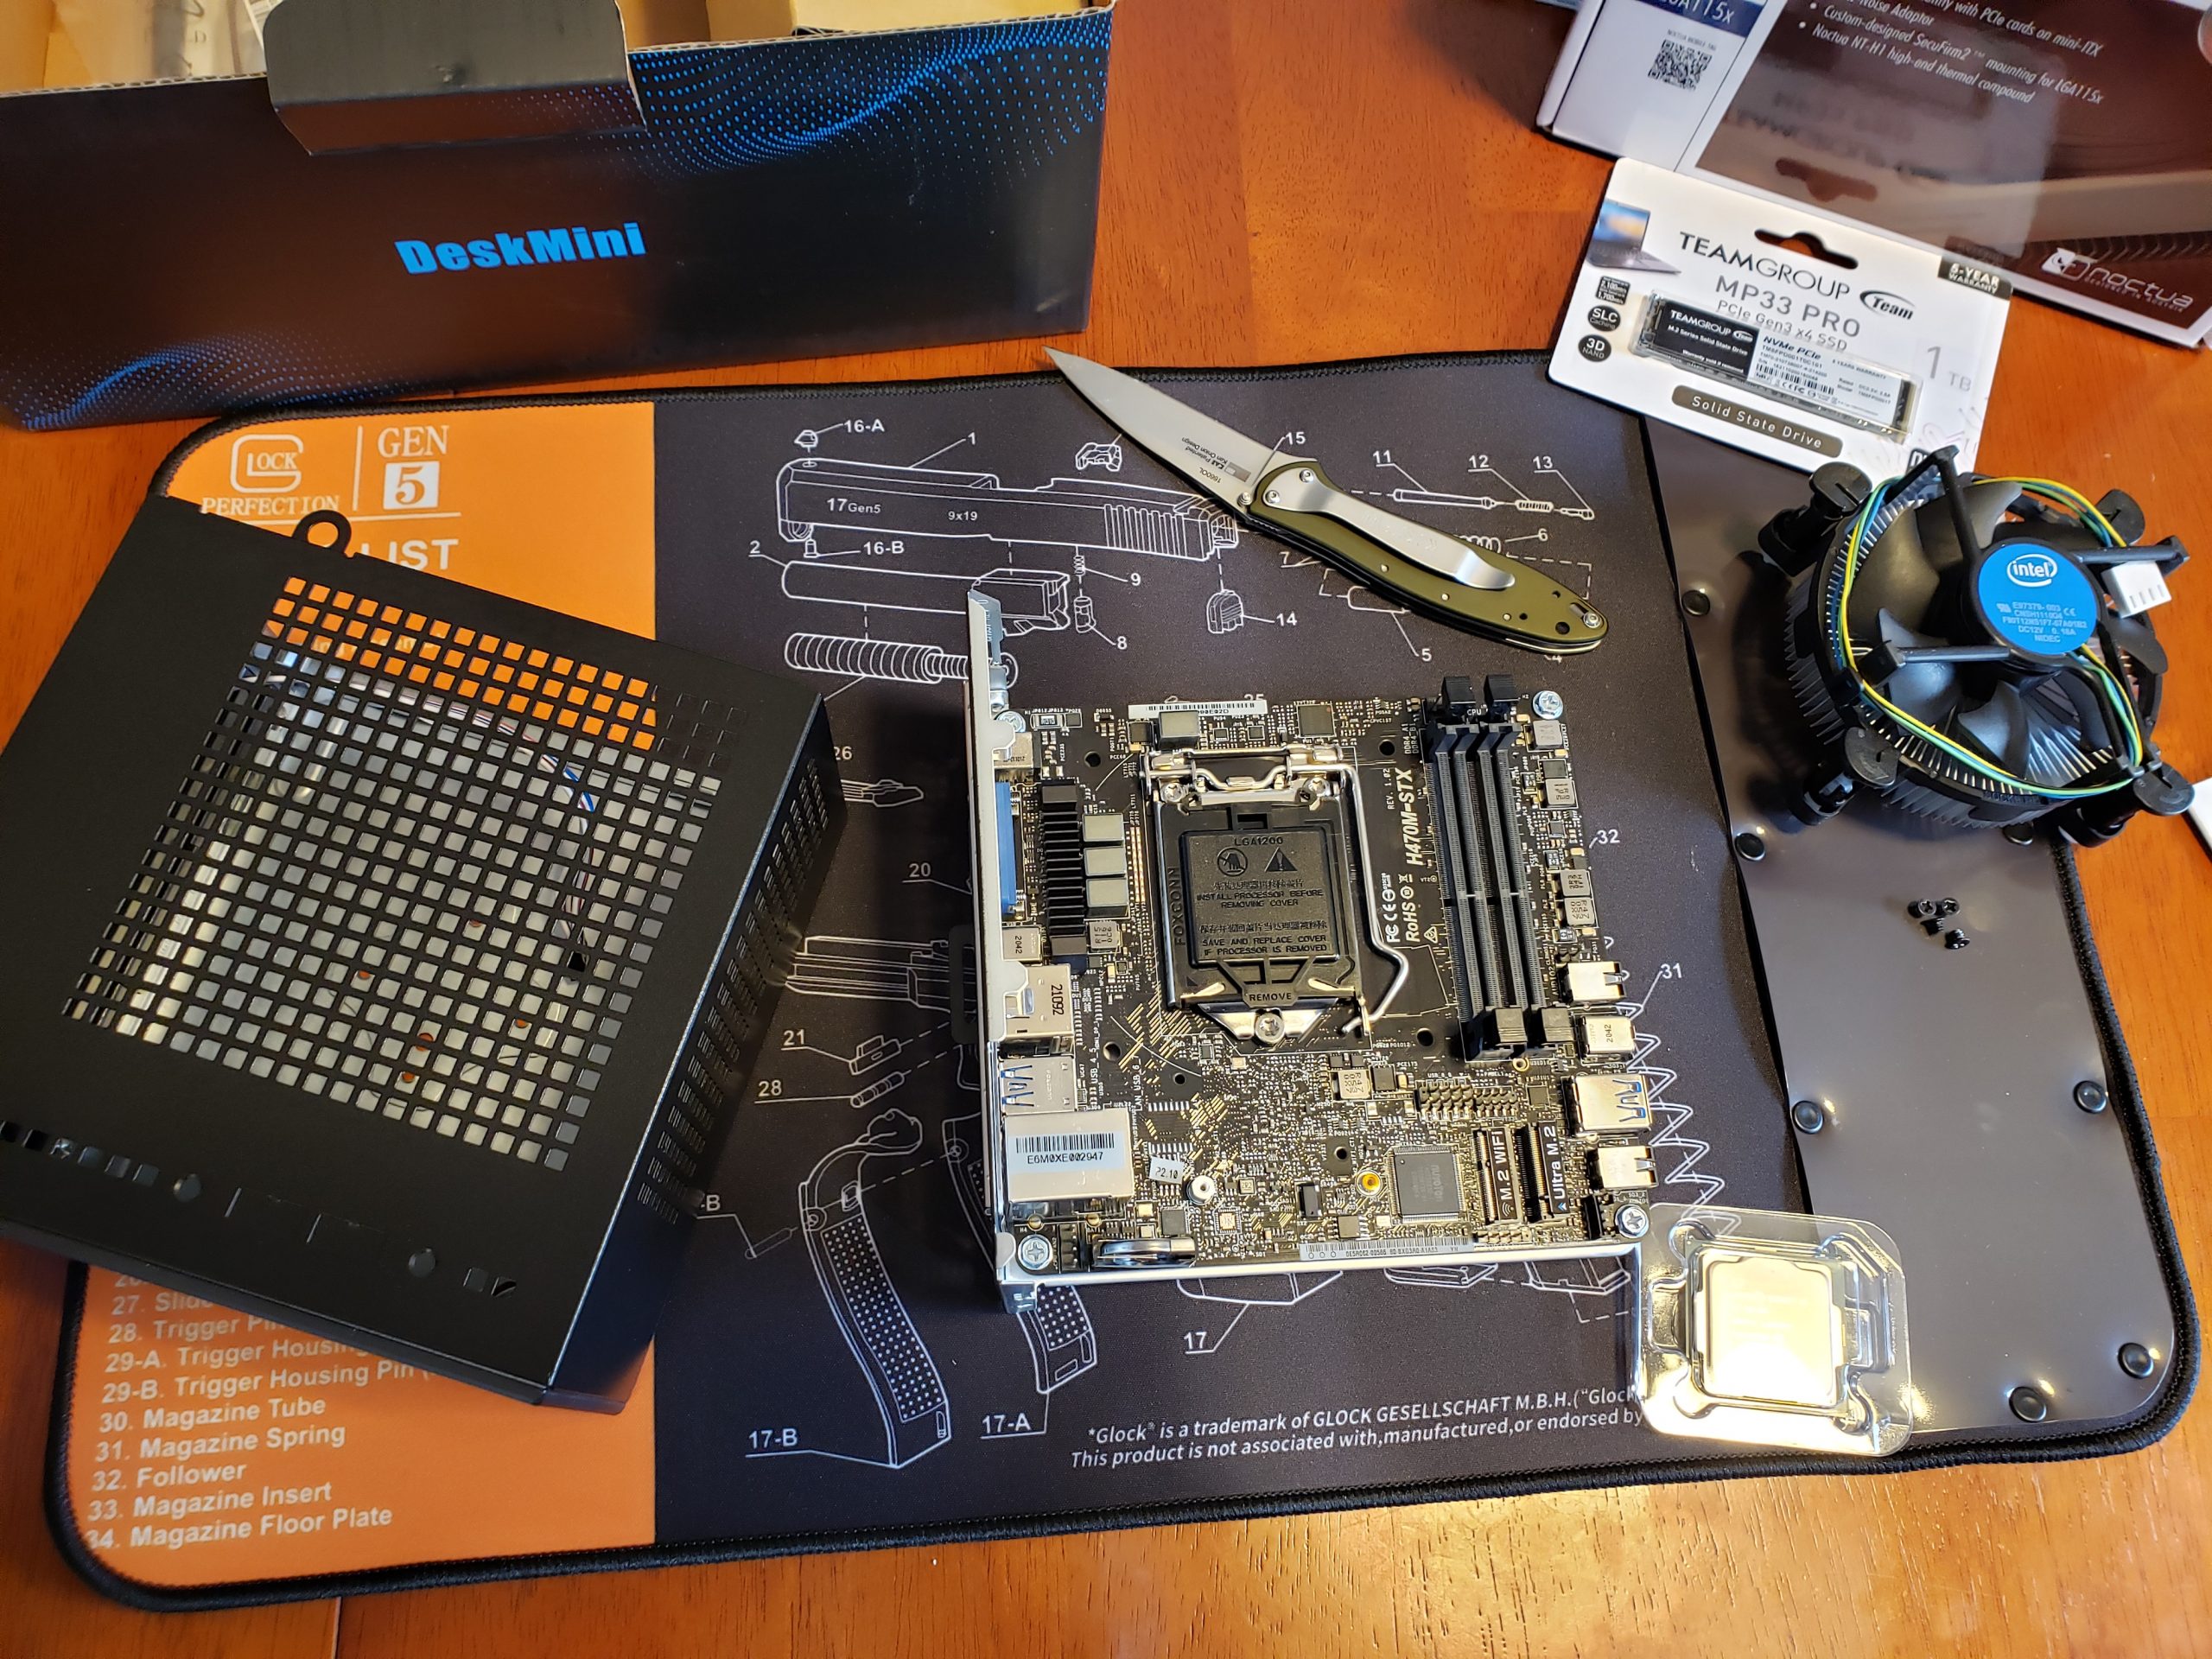
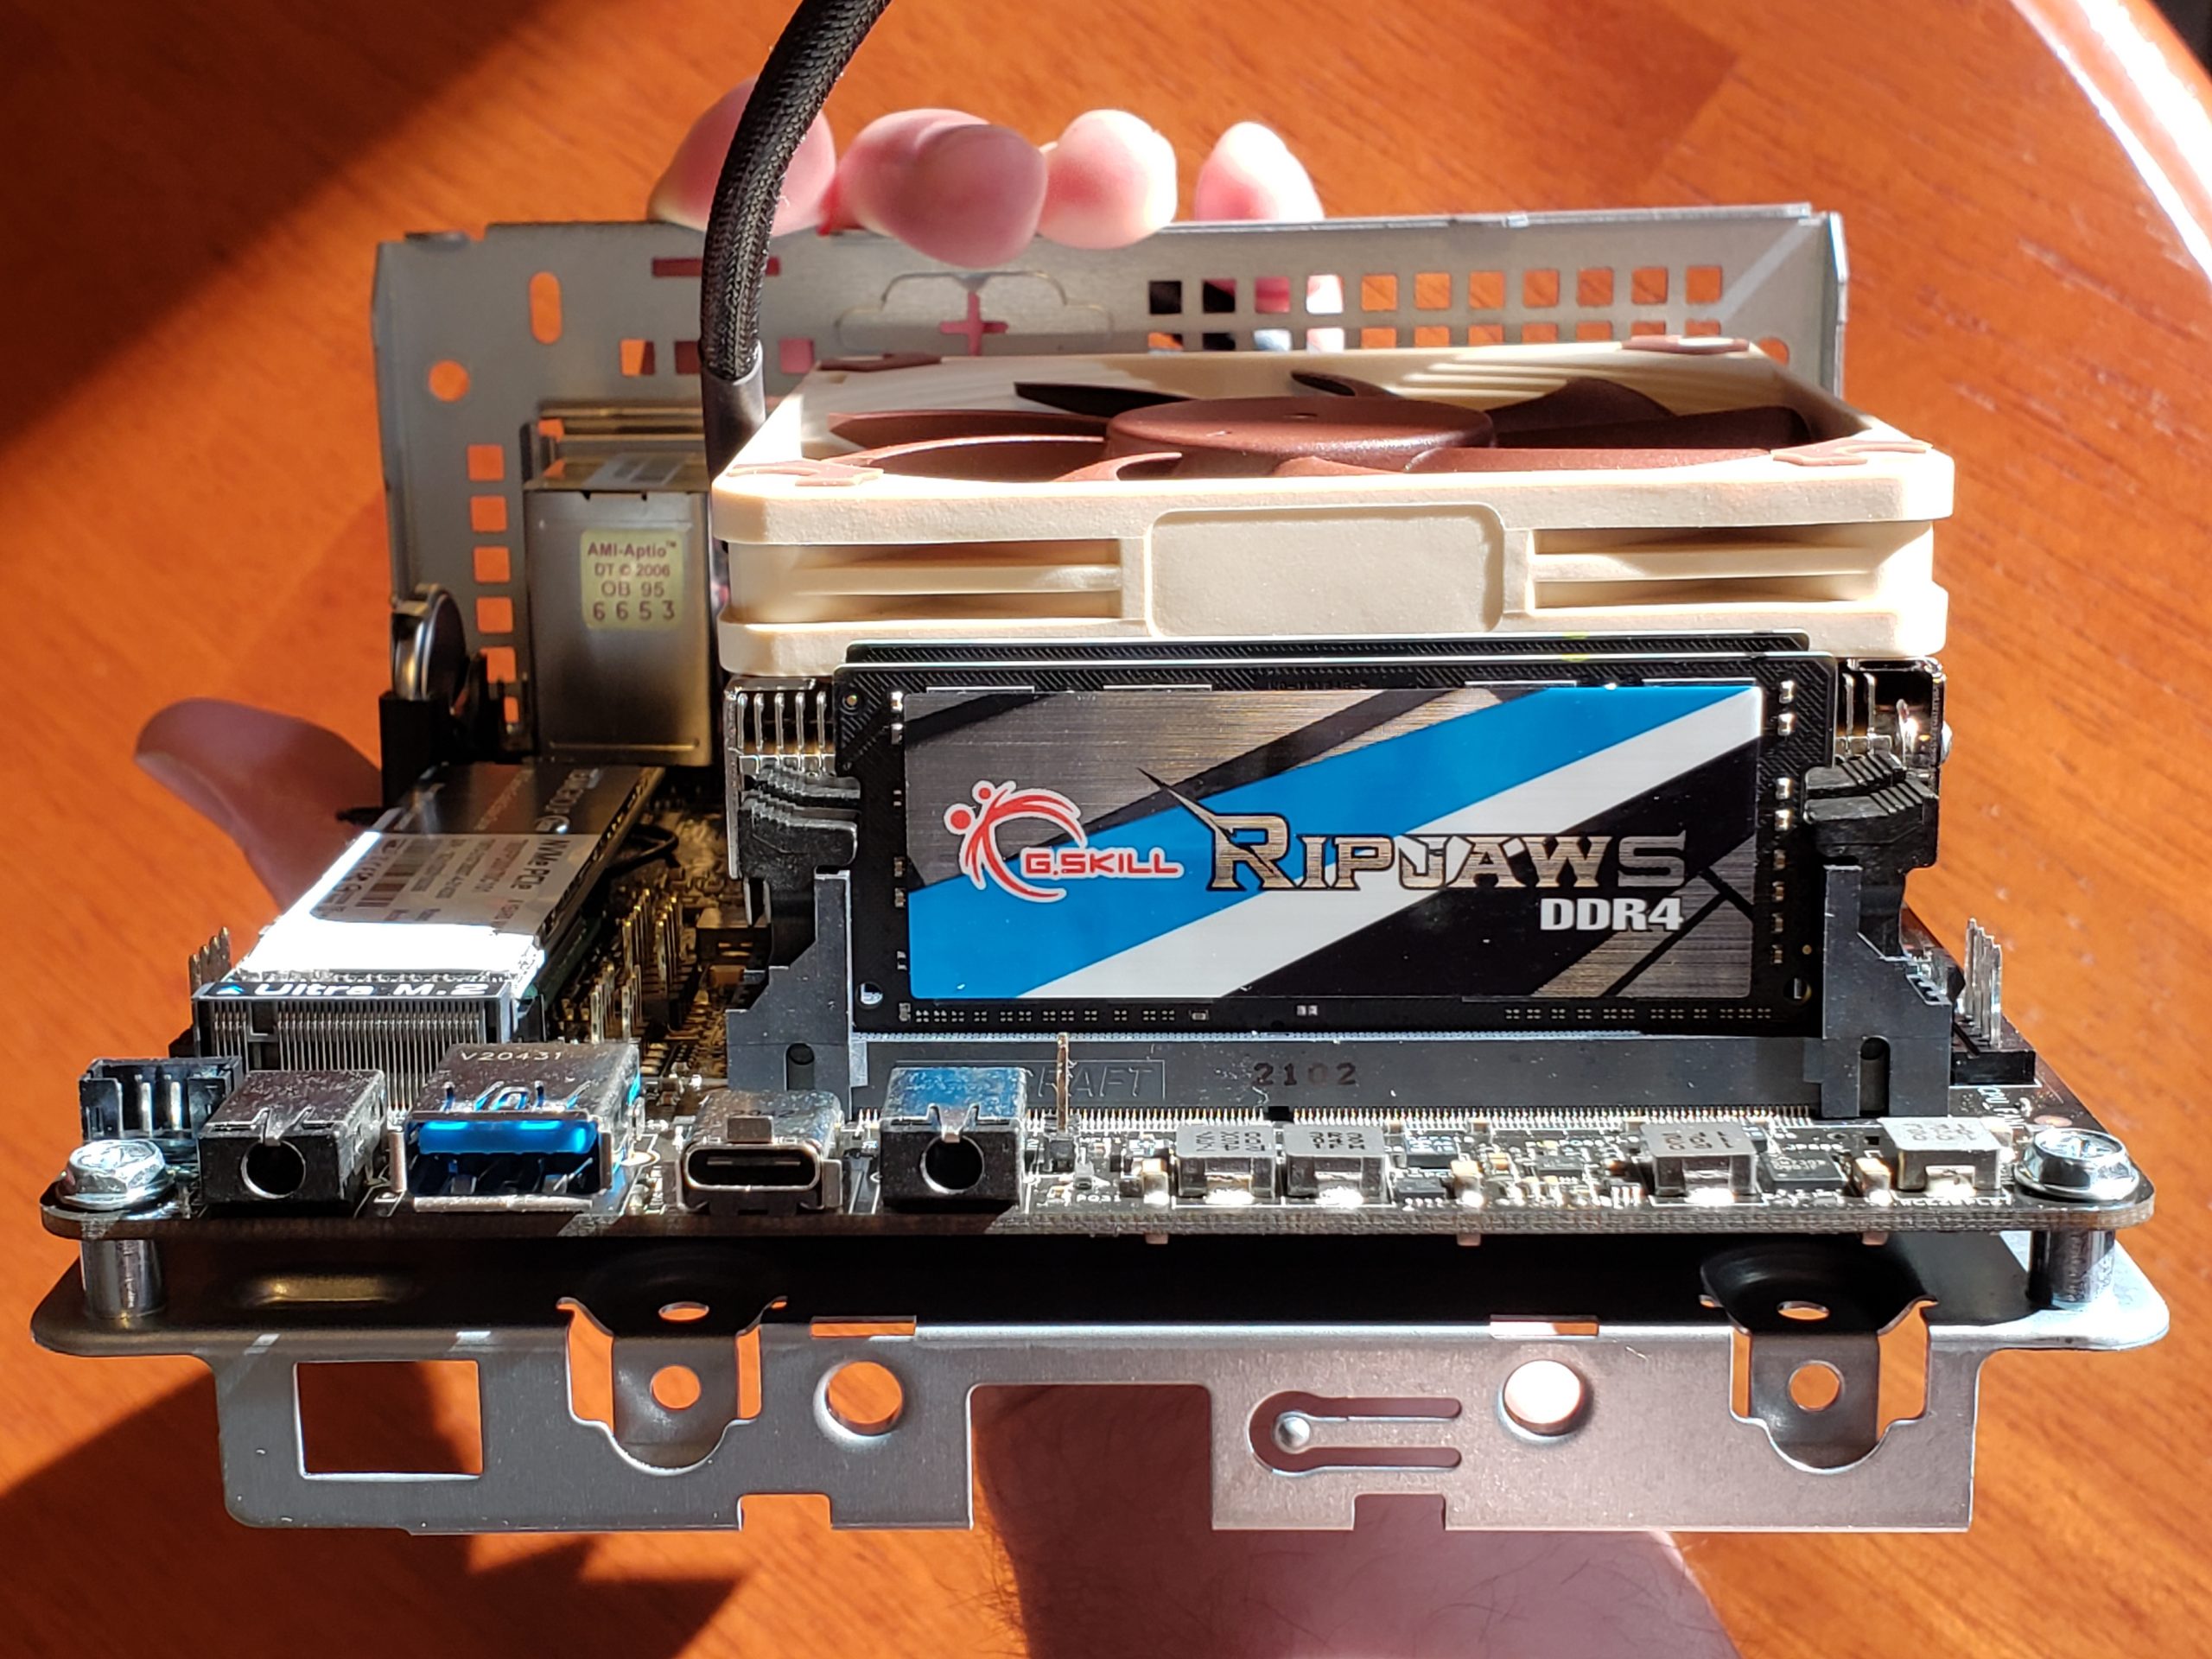
My idea is to use a type-1 hypervisor like Proxmox VE to run multiple servers on this host machine. I chose the ASRock DeskMini H470W for my barebones system with the Intel I5-10400 processor. I originally was looking at Intel Nuc 10 or 11 computer, but the DeskMini with the I5 processor has a better price and performance with greater expandability. It has an option to add two 2.5 inch drive for added storage. The I5-10400 has 6 cores with 12 treads that I can divide up between virtual machines. For the memory, I bought 32 gigabits of DDR4 ram, which will give me plenty to support the services on the virtual machines. To store all my virtual machines, I opted for a 1 TB NVMe drive.
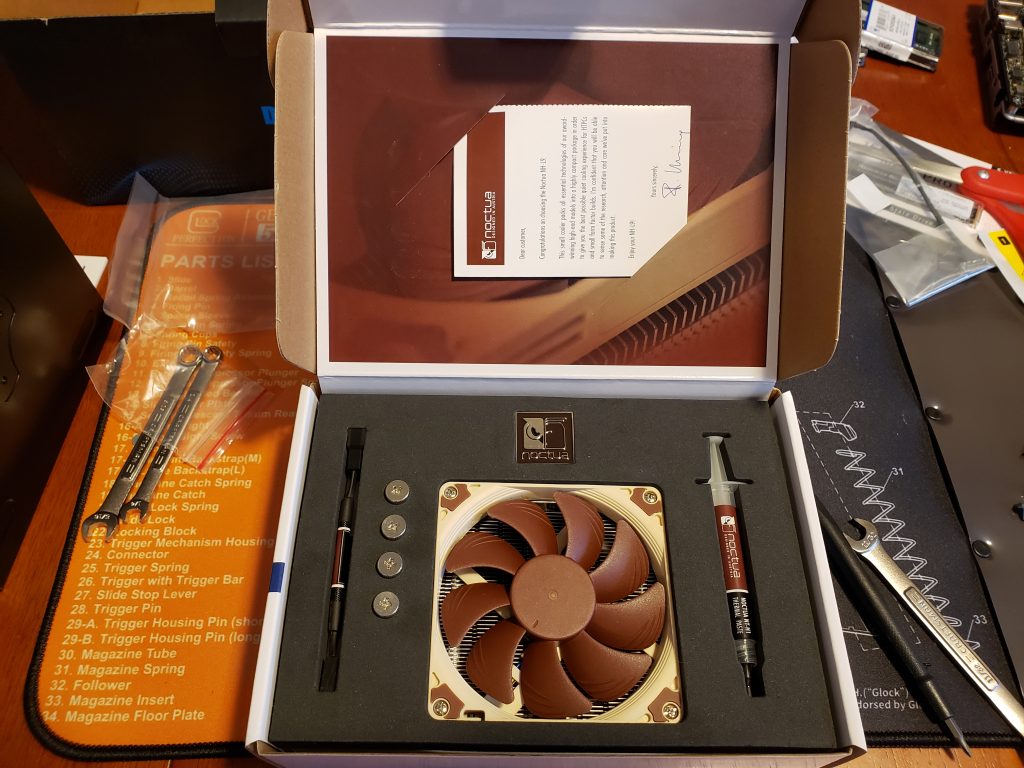
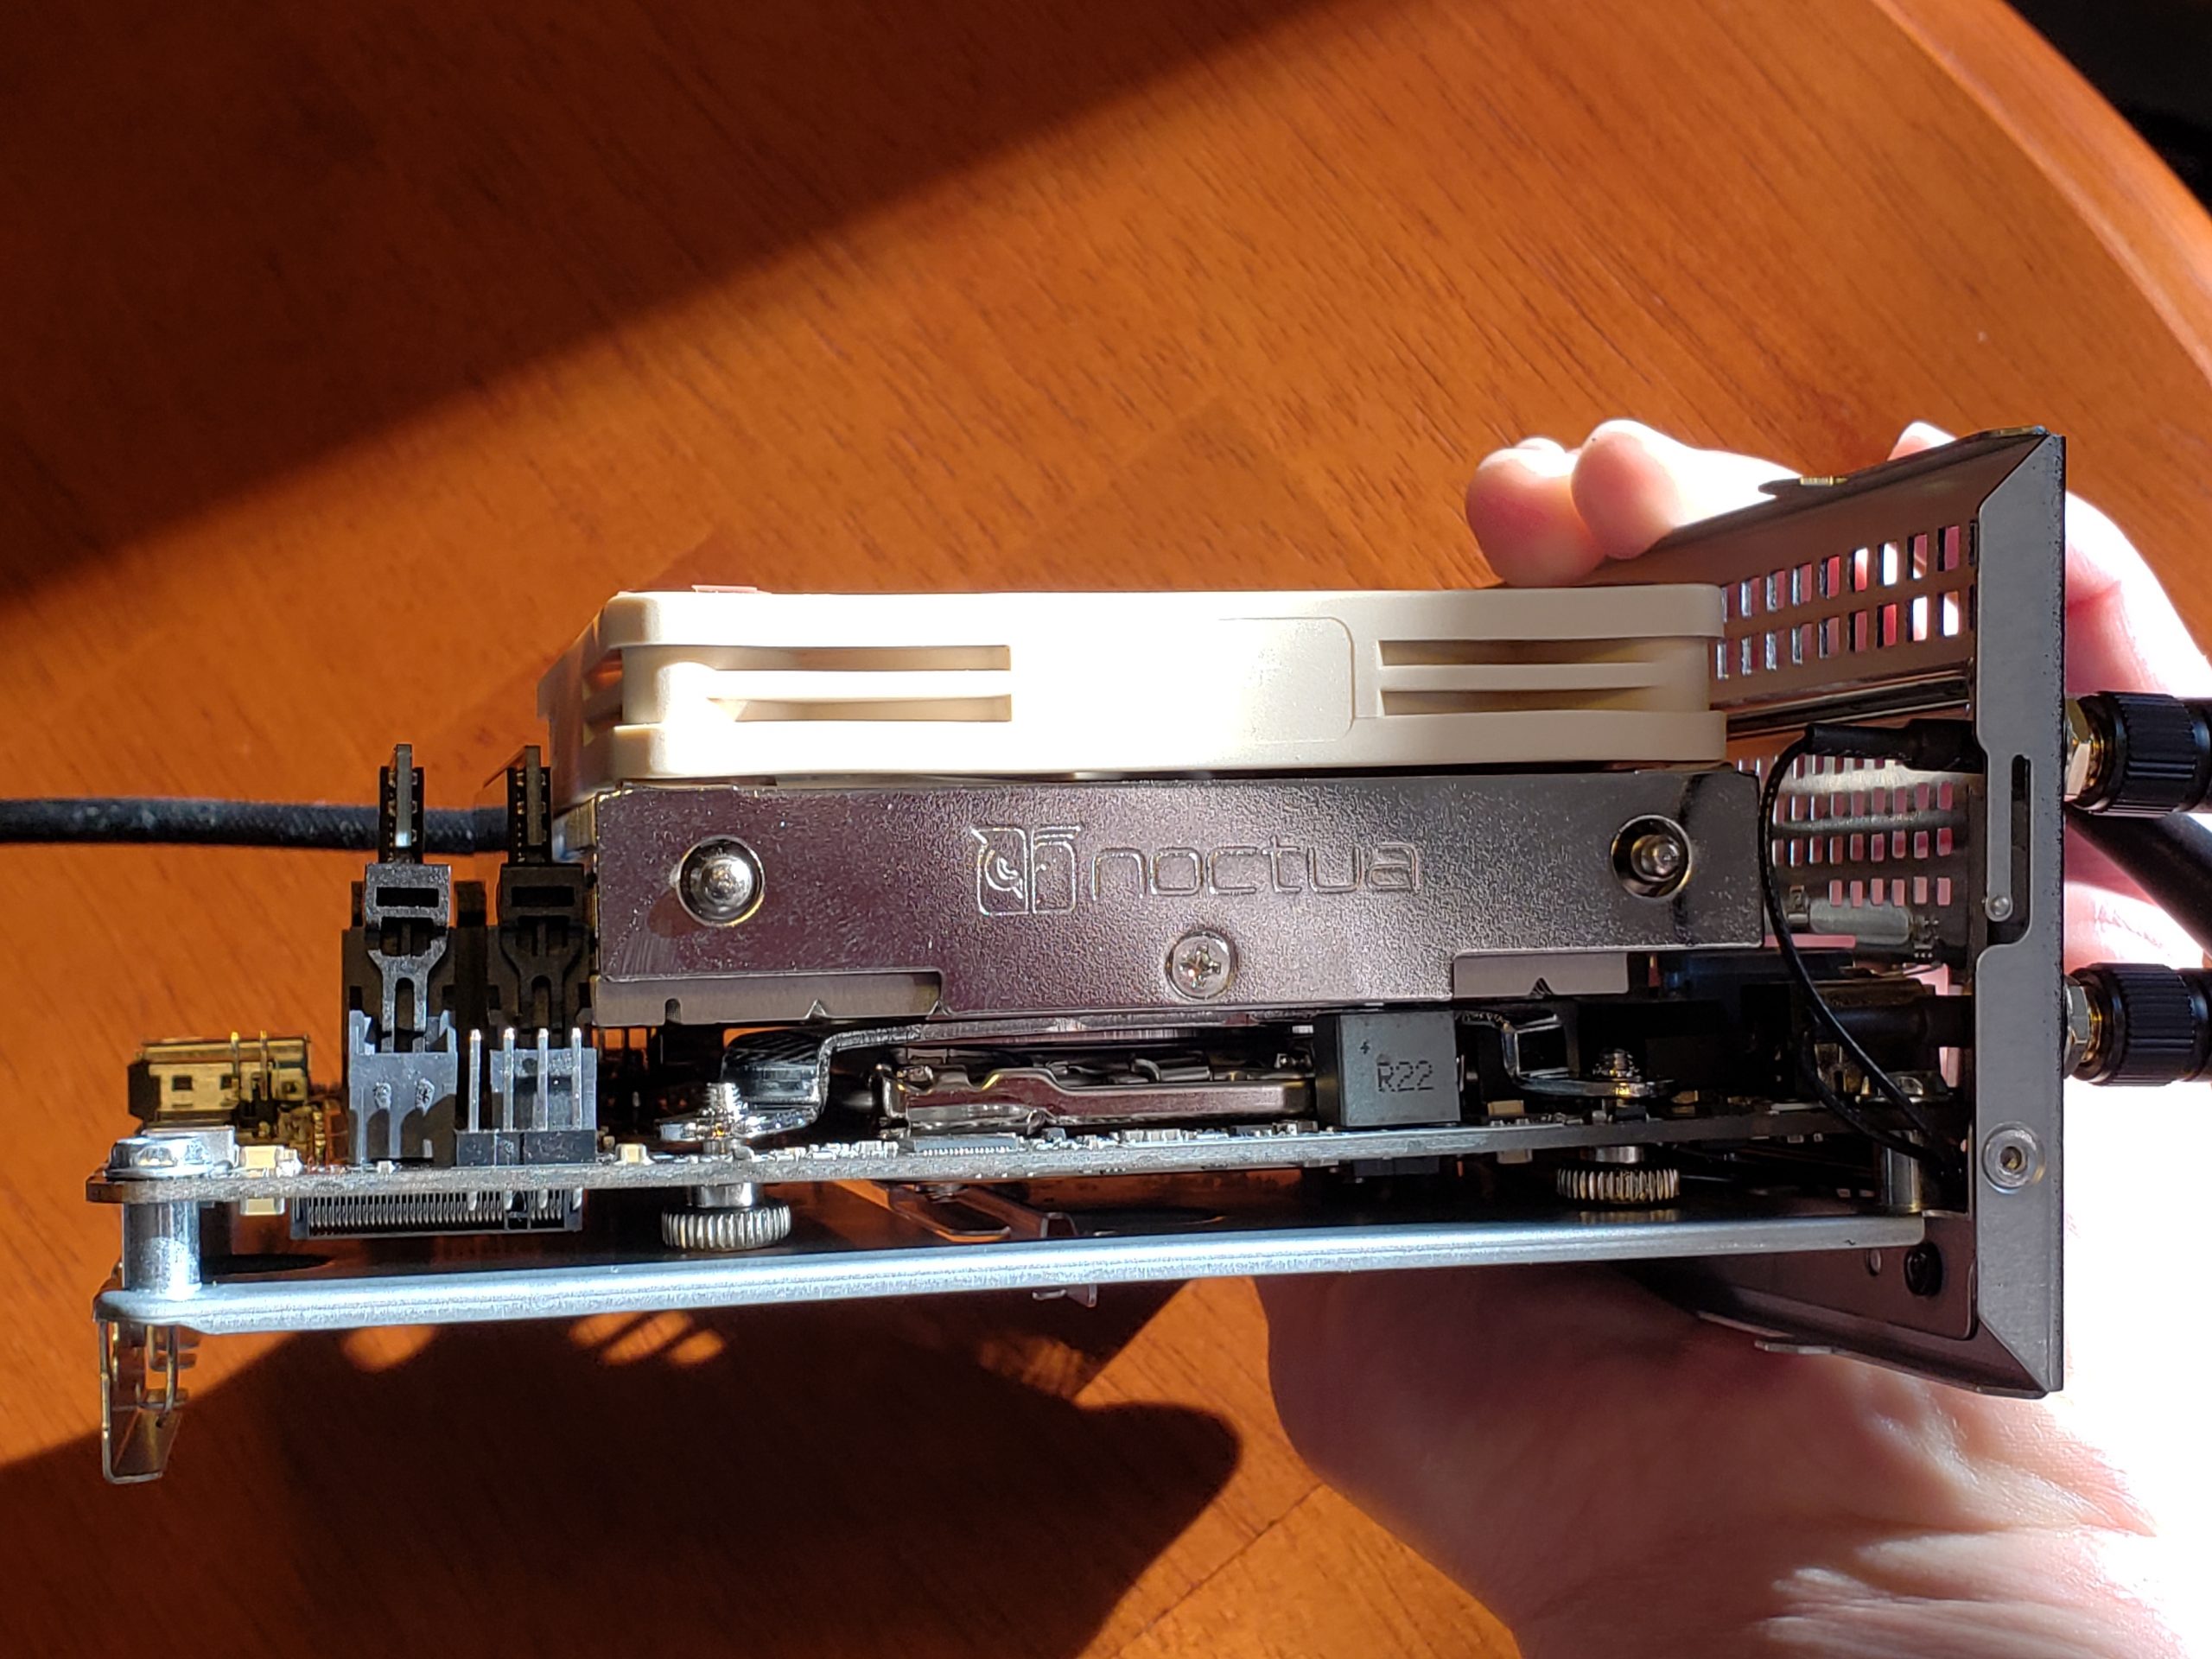
I also decided to get a good quality CPU cooler. There is one that comes with the stock Intel processor, but the Noctua cooler will perform better and the fan will be more quiet.
Below I linked the purchased parts below:
- ASRock DESKMINI H470W Intel Socket LGA1200 Intel H470 Black Mini / Booksize Barebone System
- Intel Core i5-10400 – Core i5 10th Gen Comet Lake 6-Core 2.9 GHz LGA 1200 65W Intel UHD Graphics 630 Desktop Processor
- Noctua NH-L9i, Premium Low-Profile CPU Cooler for Intel LGA115x
- Team Group MP33 PRO M.2 2280 1TB PCIe 3.0 x4 with NVMe 1.3 3D NAND Internal Solid State Drive (SSD) TM8FPD001T0C101
- G.SKILL Ripjaws Series 32GB (2 x 16GB) 260-Pin DDR4 SO-DIMM DDR4 2666 (PC4 21300) Laptop Memory Model F4-2666C19D-32GRS
Building the server!!
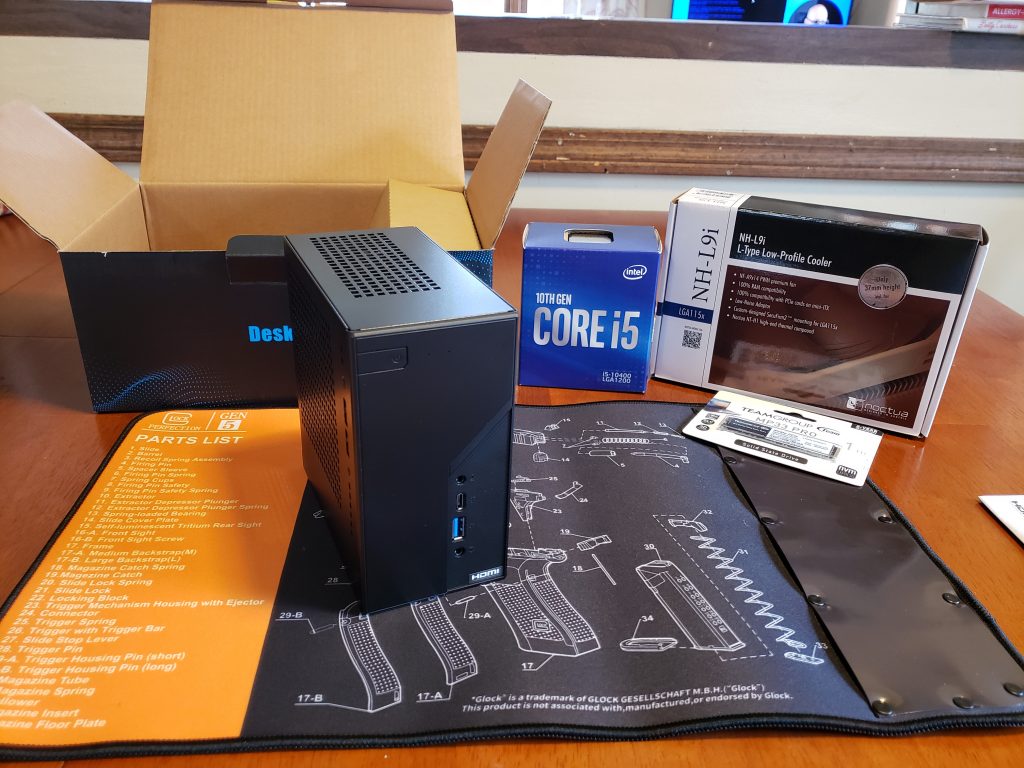
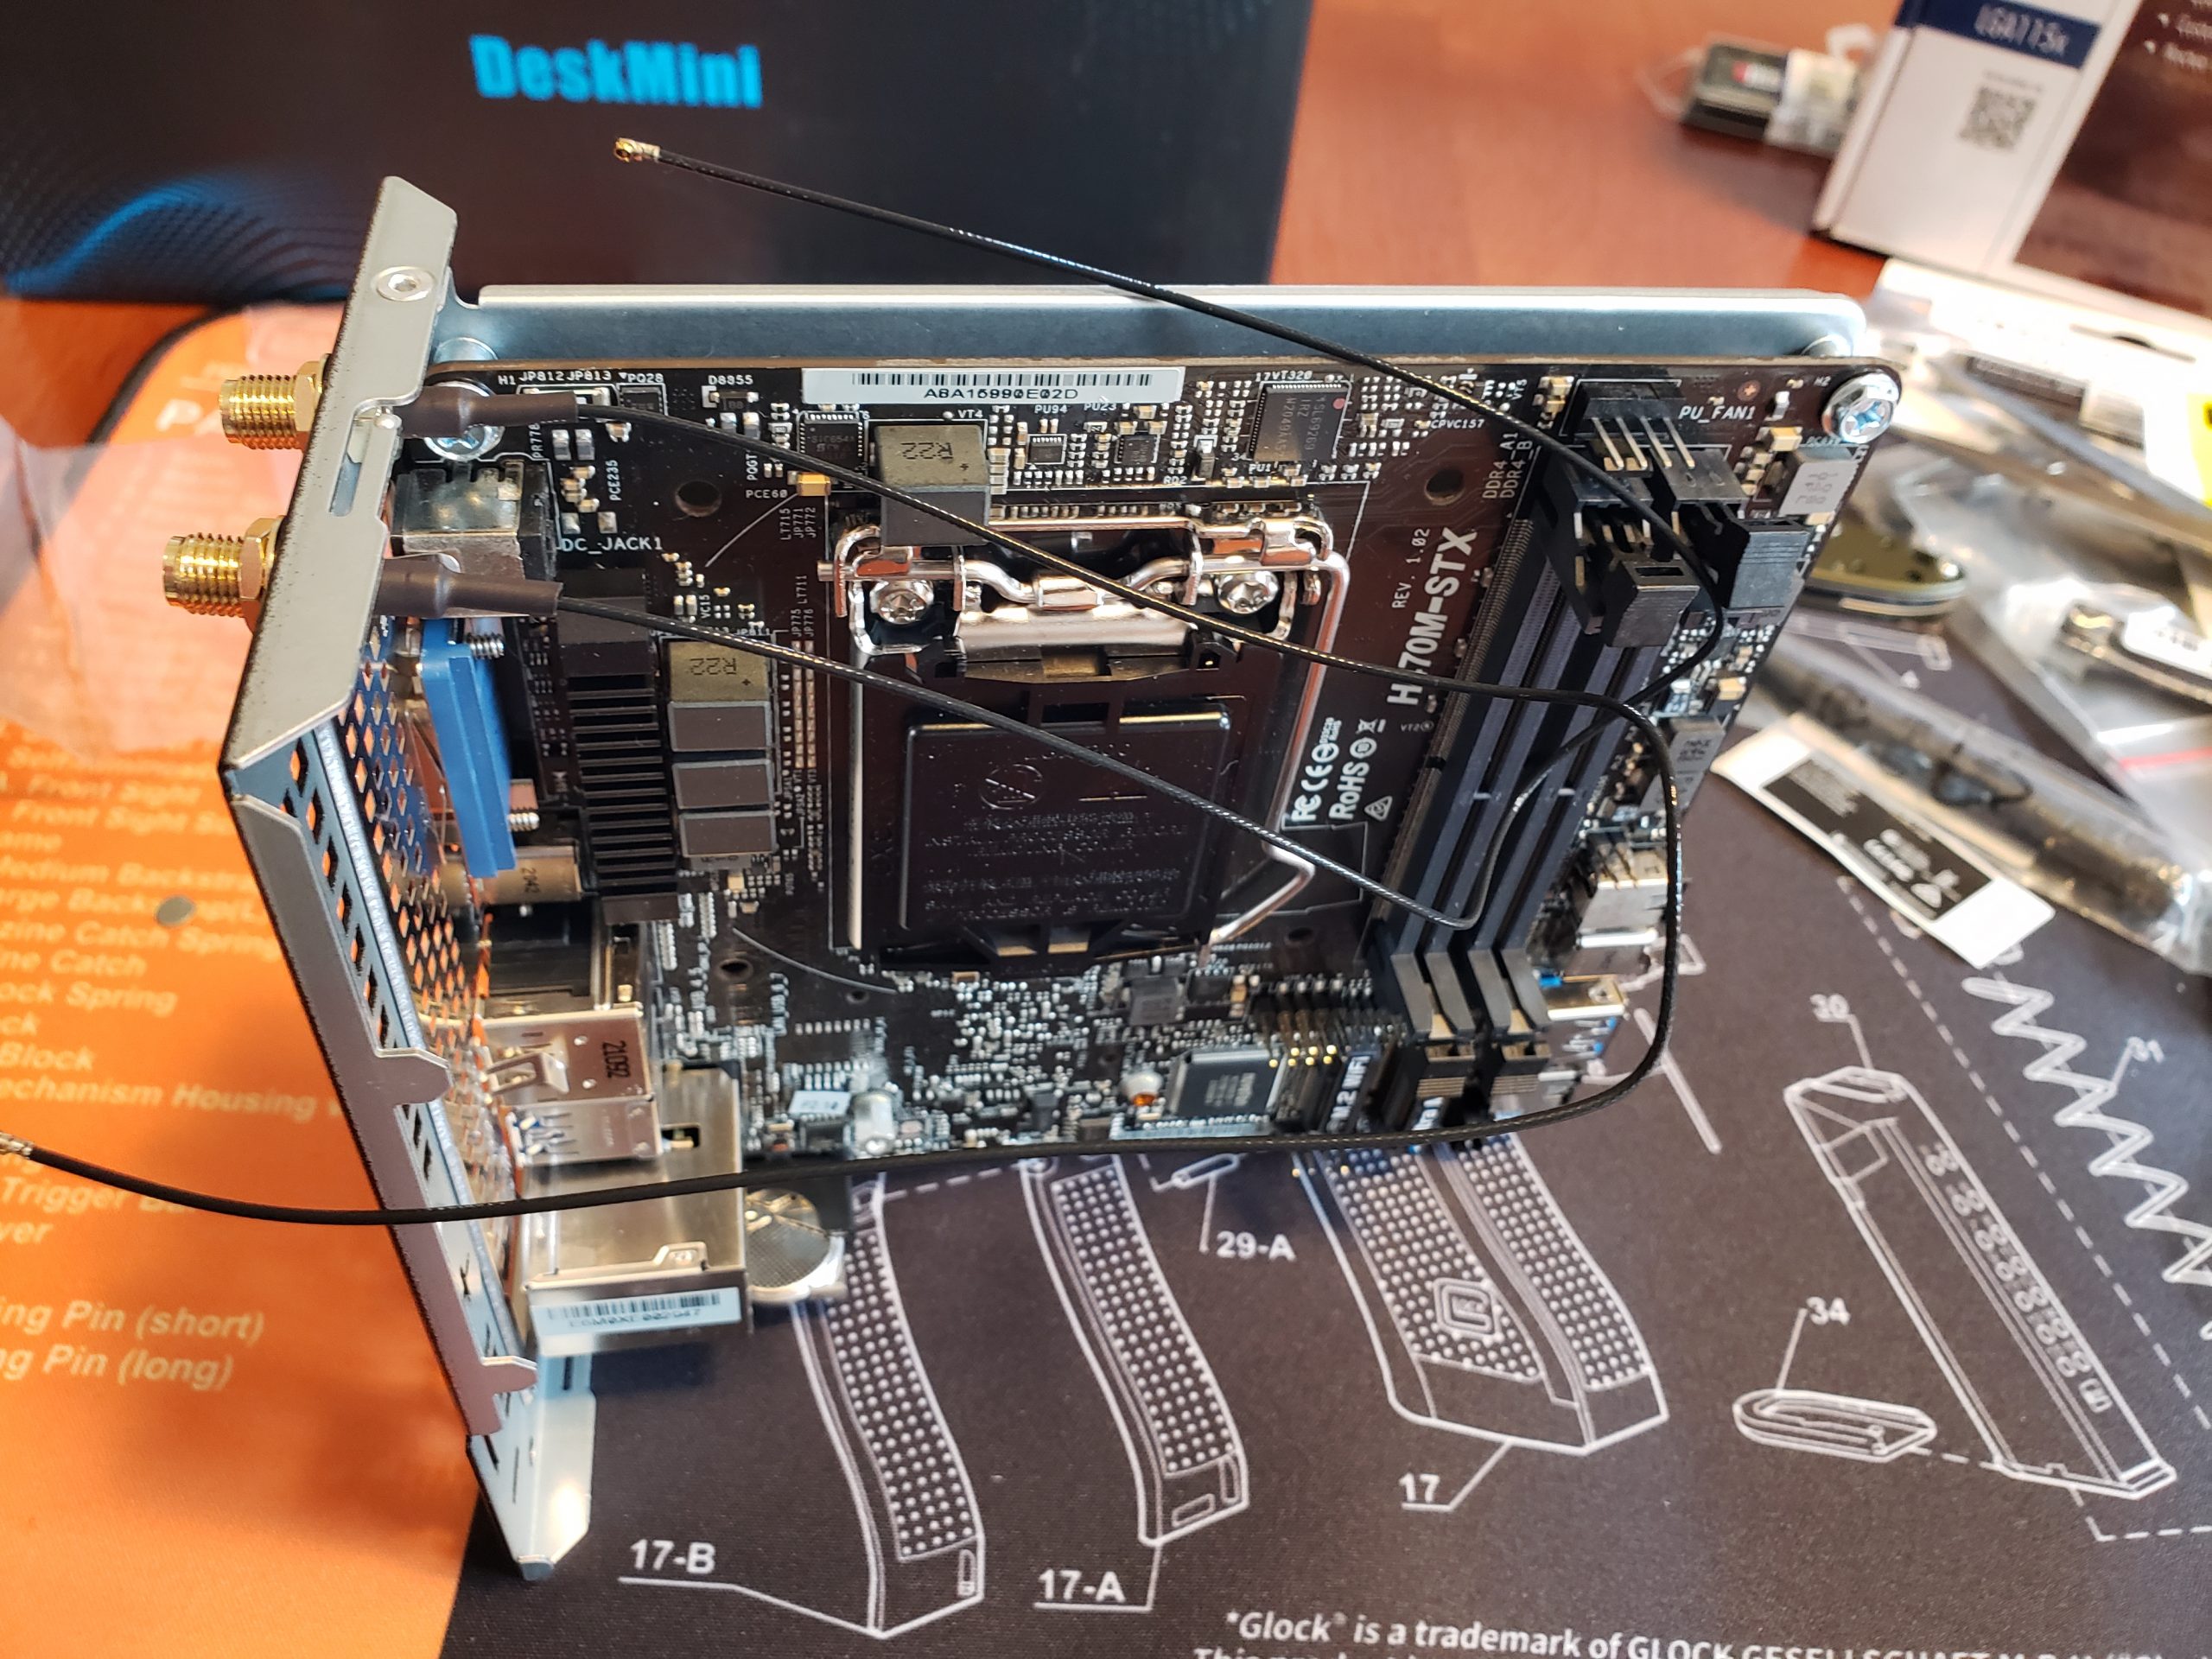
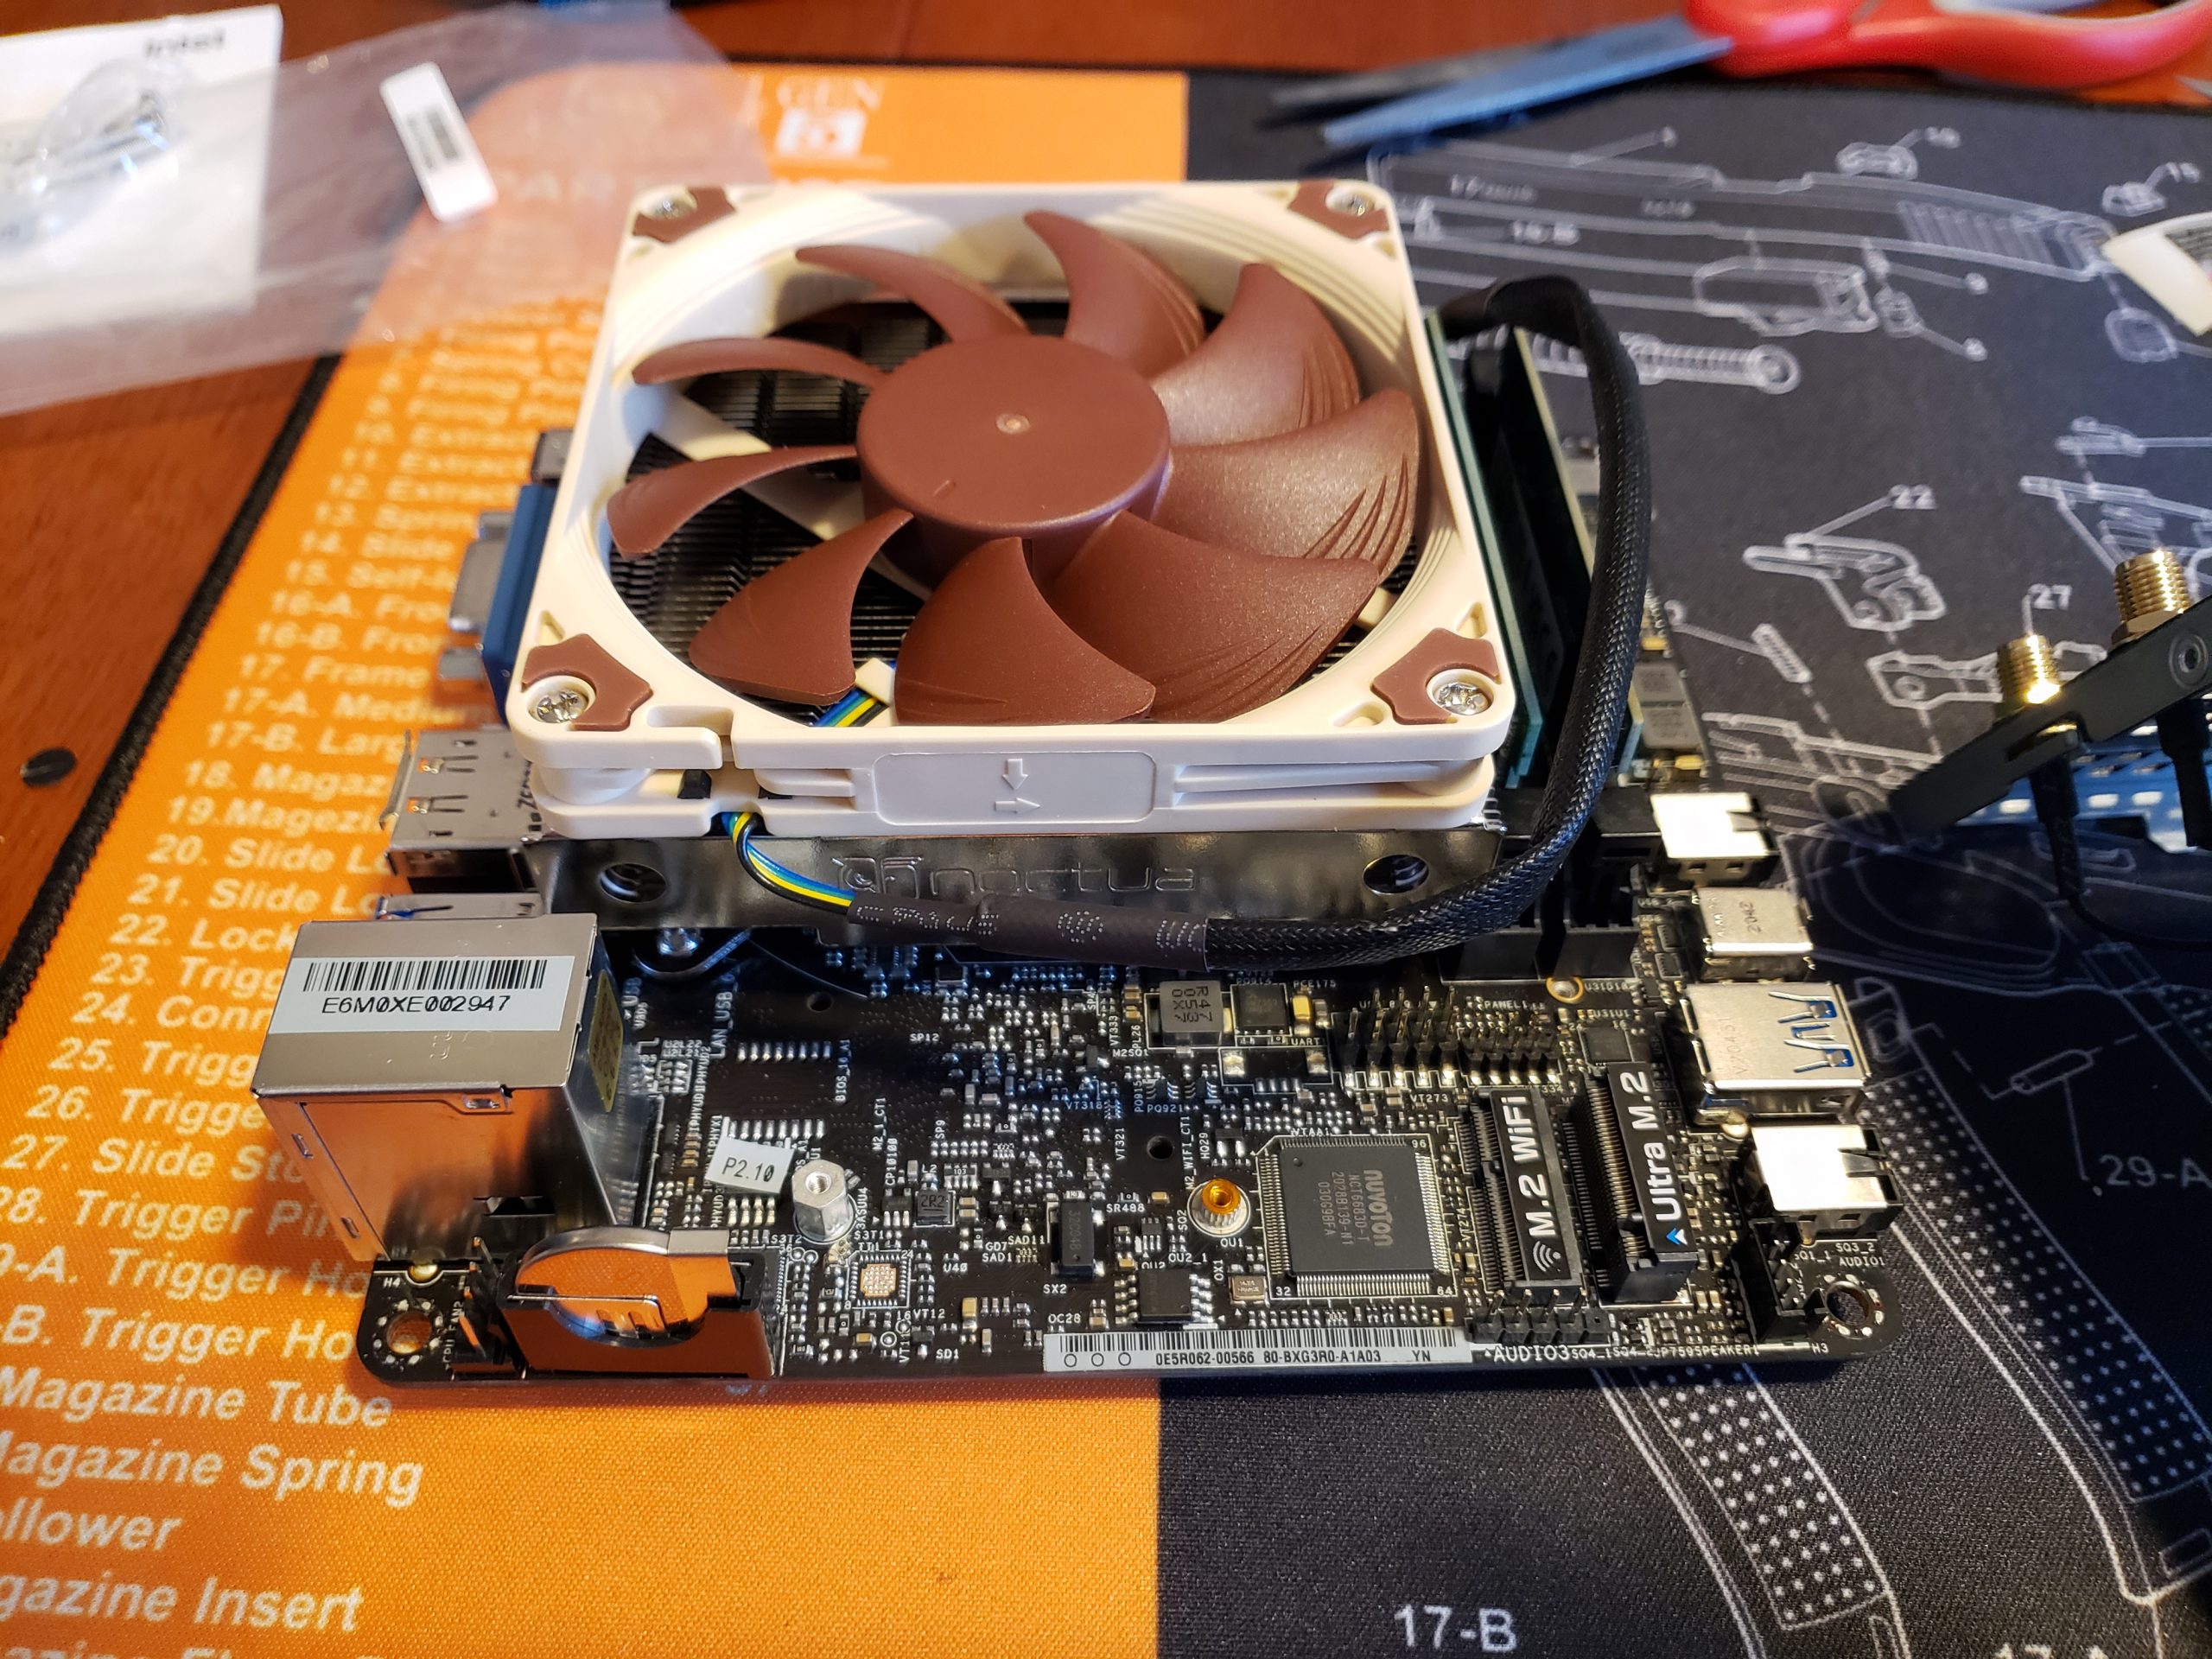
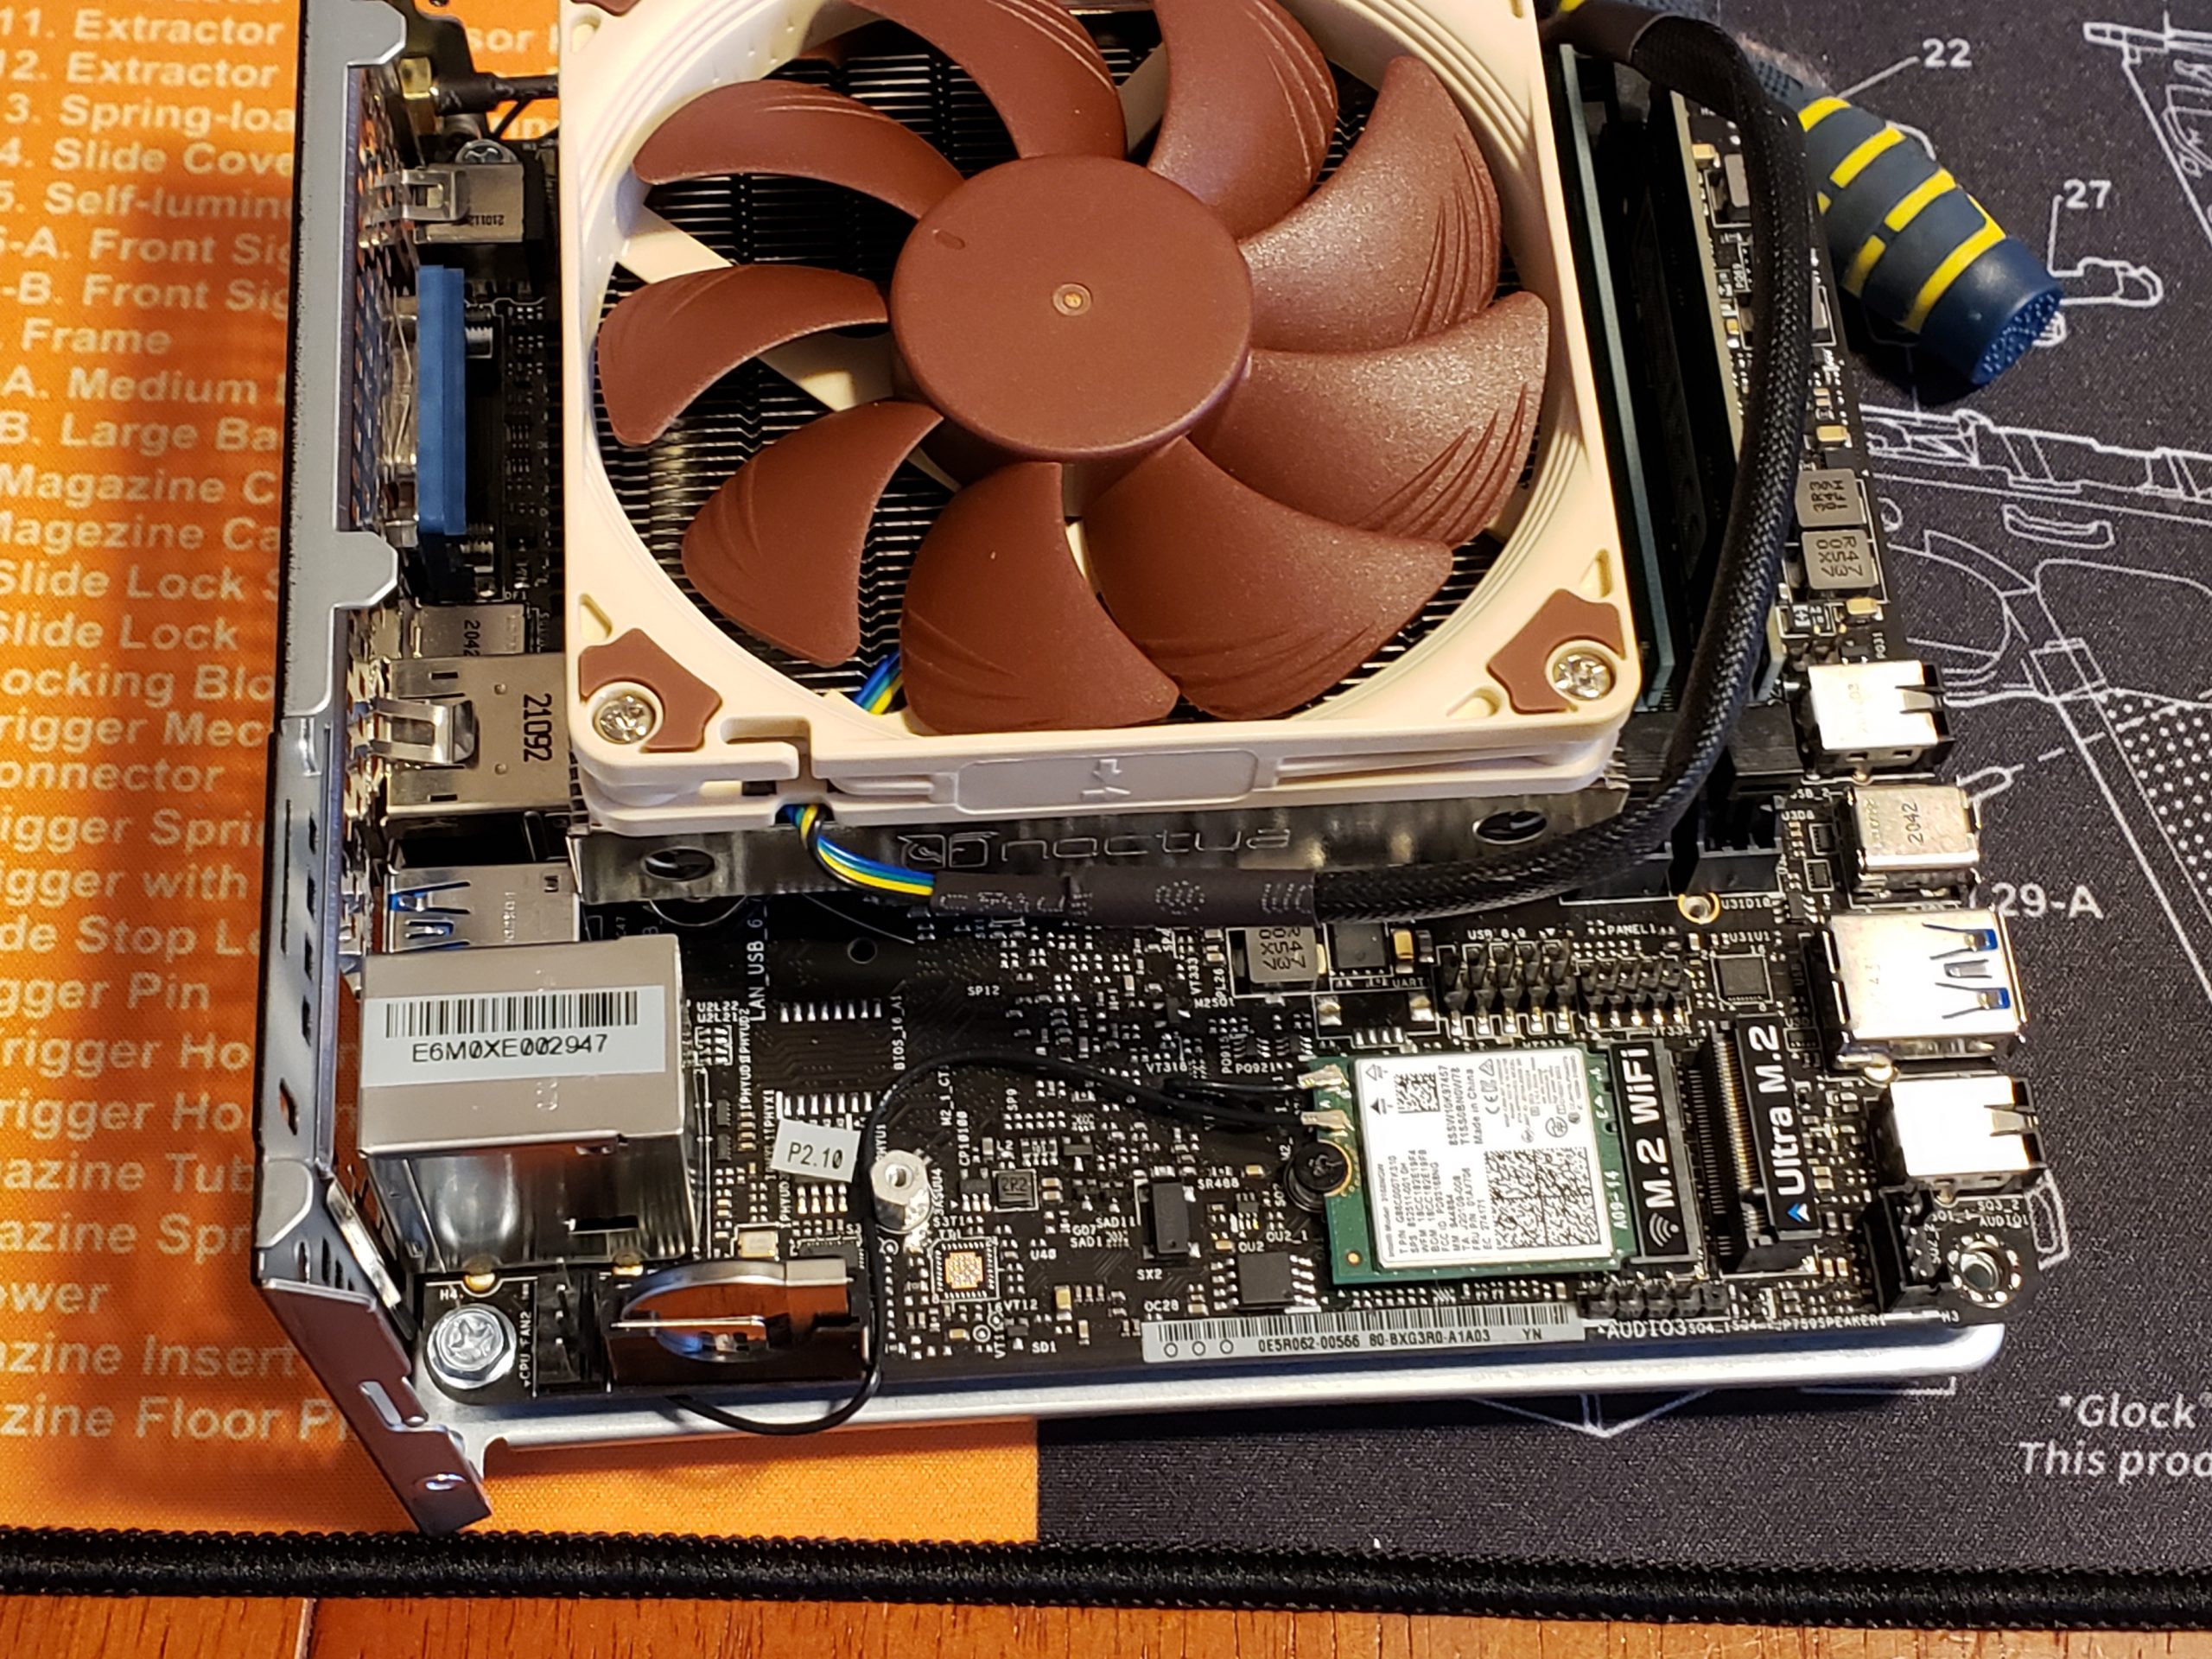
With any computer build you want to take your time or you could easily make mistakes. It was a such a small computer that it only took me about an hour. The build went pretty easy except I had a hard time installing the WiFi card. The mounting screw for the card didn’t want to thread in. It took me a while to plug the antenna wires into the sockets on the card as well. I don’t really need the WiFi card, but I installed it anyway just in case I decide to repurpose it in the future and I don’t have easy access to an Ethernet port.

Installing the hypervisor!!

Installing the hypervisor is relatively easy and and is done so the same way you would install an regular operating system. Most hypervisors can be run headless meaning, without a keyboard and monitor. To access it, you can just type in the IP address of the host computer in your internet browser or use ssh in a terminal.
Some of the services that I may install is a load balancer such as Kemp and a Nextcloud server. I am also interested in learning more about Containerization and Kupernetes.
Build it now!
The fact is anyone can put a server in their home especially if the have an old desktop or laptop sitting around. There is a lot of free software out there. Technology is continuing to change at a rapid rate and I guess this is my attempt to try to stay somewhat relevant with my knowledge about computing.
As always…Thank you for reading and feel free to leave a comment or ask a question.
~Cheers!
Alan


Pretty component of content. I simply stumbled upon your website and in accession capital to claim that I get actually enjoyed account your weblog posts. Anyway I will be subscribing in your augment and even I success you get admission to consistently fast.
Youre so cool! I dont suppose Ive learn something like this before. So nice to find somebody with some authentic thoughts on this subject. realy thanks for beginning this up. this website is something that’s wanted on the net, somebody with slightly originality. helpful job for bringing one thing new to the internet!